¶ Replacement of conveyor belt
¶ When to Replace
Most of the conveyor belt has been scratched and the base color is exposed;
Even after being tightened and heated, the welds on the conveyor belt still bulge;
The conveyor belt has cracked and is affecting the printing.
¶ Video Guide
Click to Jump IR3V2 Replace the conveyor belt Guide
¶ Replace Guide
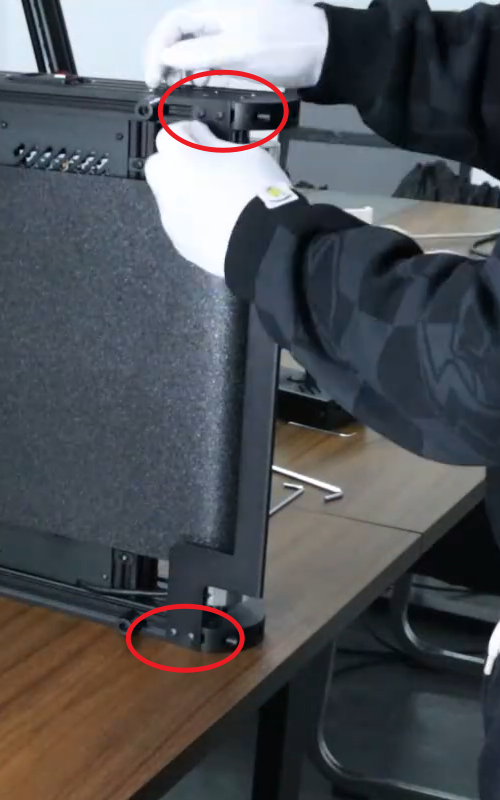
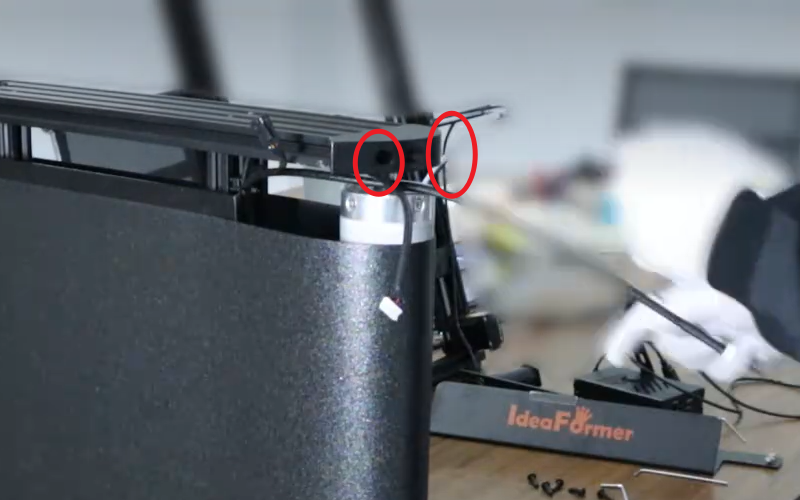
- Unplug the cables of the XY servo motor, the travel detection sensor, and the connection lines of the mainboard. Loosen a total of 8 M5×20 hexagonal head screws on both sides.
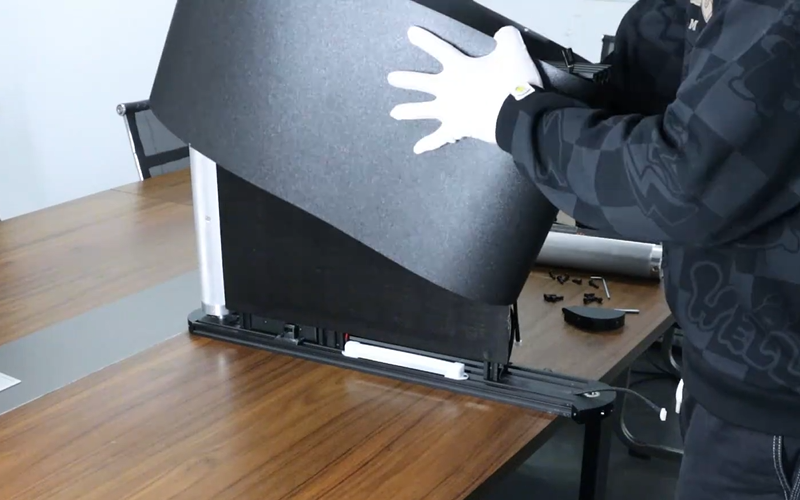
- Hold the upper frame to prevent it from falling off. Then unscrew the two M5×14 socket head hexagon screws that connect the upper frame to the base.
- After removing the XY-axis frame, remove the baffles and the 4 M4×6 hexagonal screws and T-type nuts on the baffles respectively.
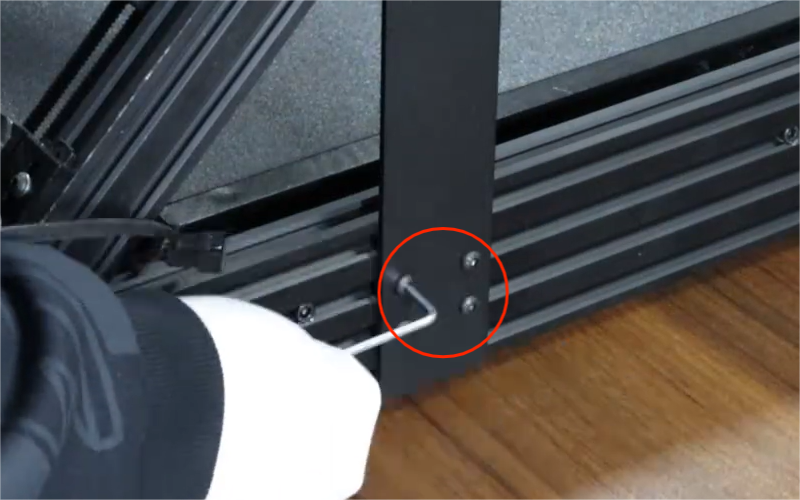
- Loosen the two M5X50 hexagonal screws located in the end cover of the front roller of the conveyor belt until the front roller is pushed back to its final position.
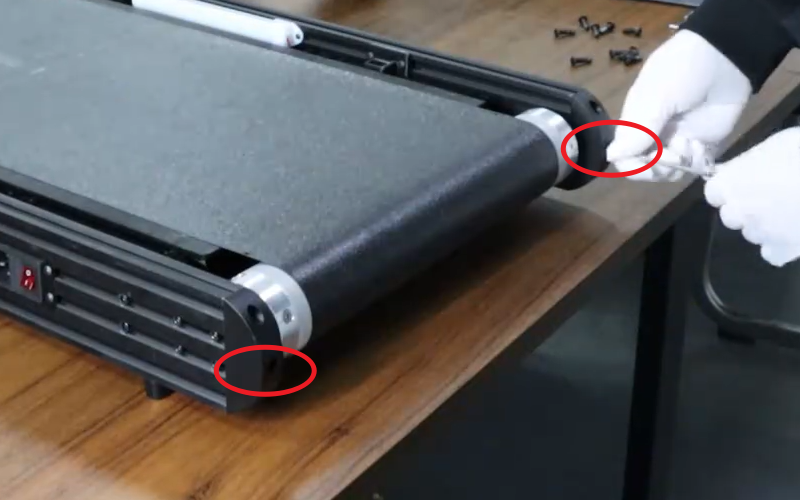
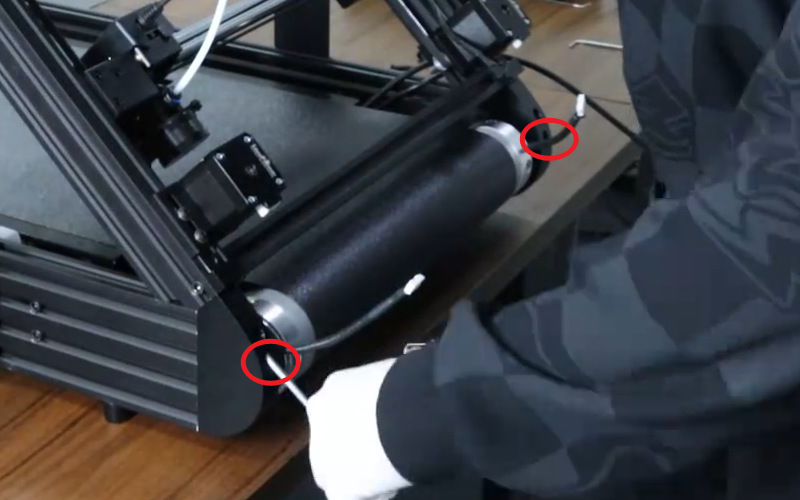
- Place the platform sideways, loosen the 2 M5×20 socket head hexagon screws on the bearing seat, hold the rear drum in place, then remove the bearing seat on the upper side of the drum (after removing the drum, be careful as the conveyor belt might suddenly catch your hand).
- Remove the conveyor belt and put on the new one.
- Tighten the conveyor belt, insert it into the rear drum and align it with the bearing below, then cover the bearing housing.

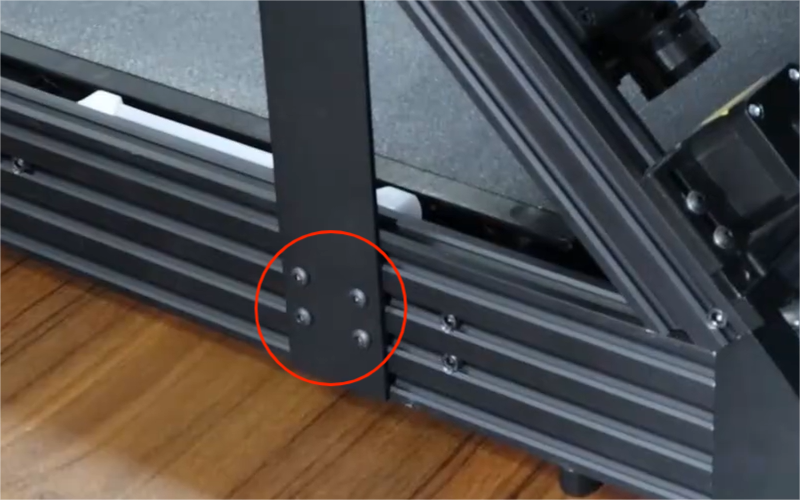
- Retighten 2 M5×20 cup head hexagonal screws, and tighten the 2 M5X50 cup head hexagonal screws that were loose at the front drum until the conveyor belt is flush without bulging. Press at the four points in the picture, continue to tighten the 2 screws until it requires a little force to press down, and make the conveyor belt in the appropriate tension state.
