¶ Replacement of heating element
¶ Video Guide
Click to Jump IR3V2 Replacement of heating element Guide
¶ Replace Guide
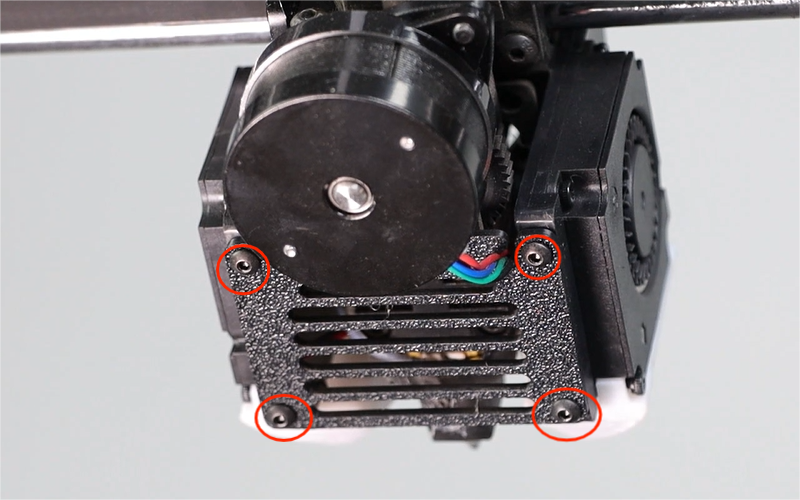
- Disassembly the flat-head screws at the top of the print head and take off the four cap-head screws at the bottom of the print head housing.

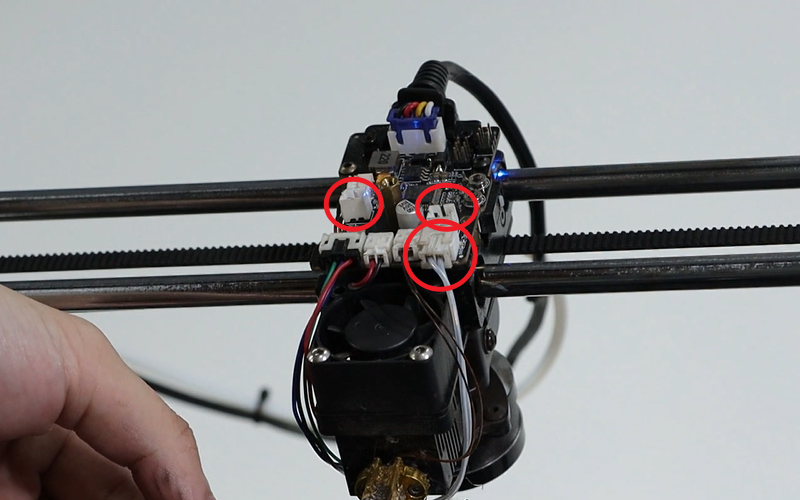
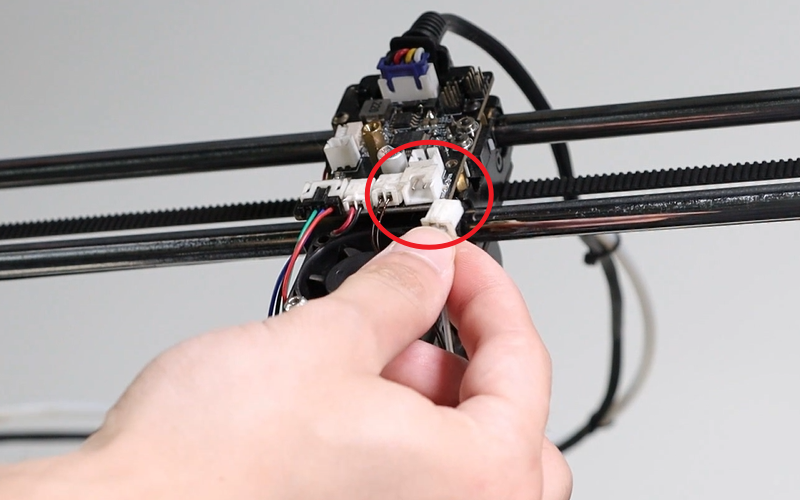
- Remove the outer shell, unplug the terminal of the blow mold fan, pull out the terminal of the heating plate, and take off the silicone sleeve of the print head.
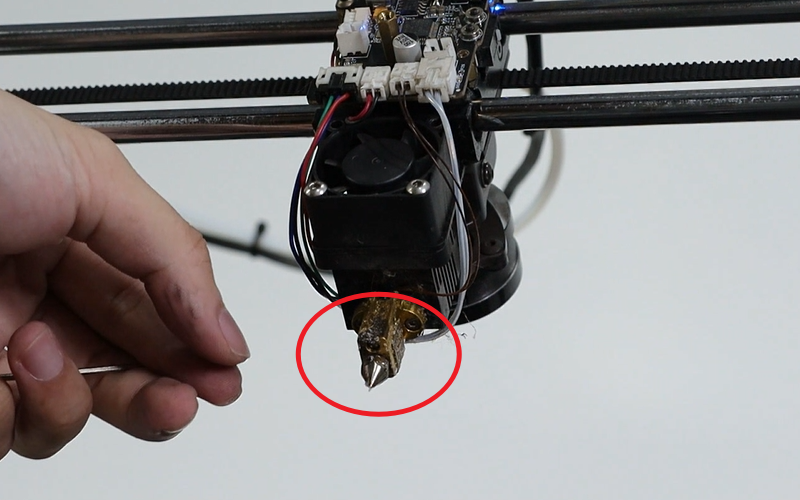
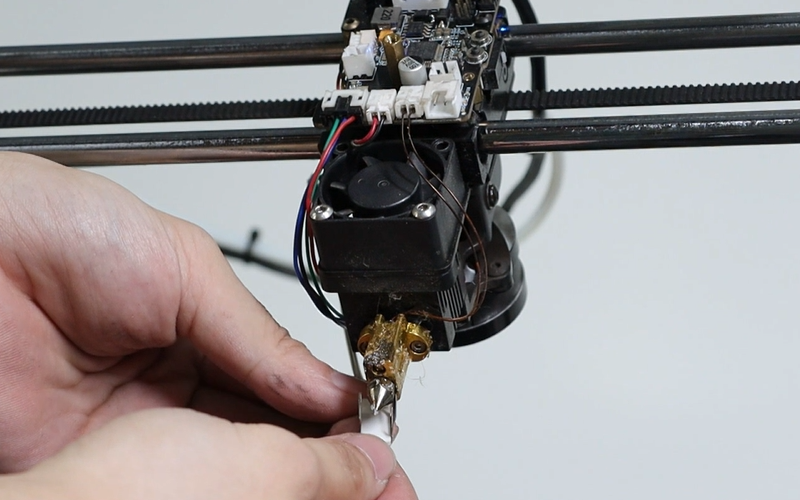
- Use the forceps to pry open and remove the fixation clamp.
- Install the new heating sheet, and then fix the clamp back to securely attach the heating sheet (pay attention to the direction of the clamp, and the V-shaped pressing plate that presses the heating sheet should have an opening facing the nozzle). When the clamp is fixed, the heating sheet should not be able to move, should be tightly attached to the heating block, and the clamp should hold the protrusions on both sides of the heating block.
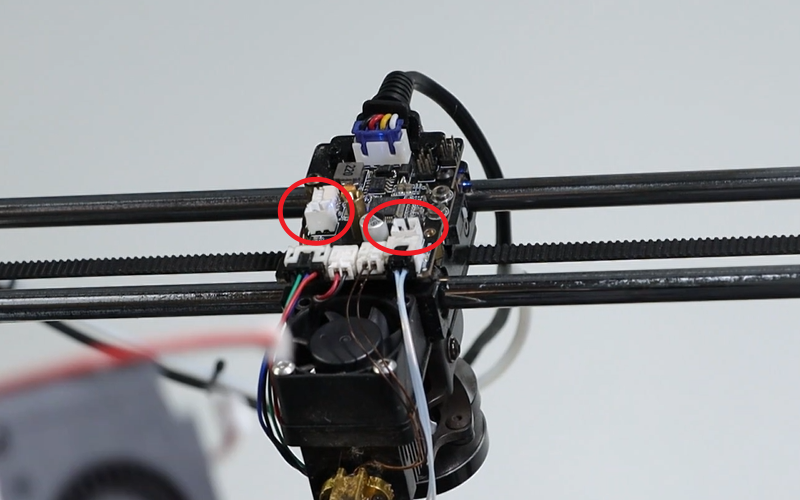
- Insert the heating element terminal back in.
- Insert the blow mold fan terminal back in, be careful not to insert it incorrectly.
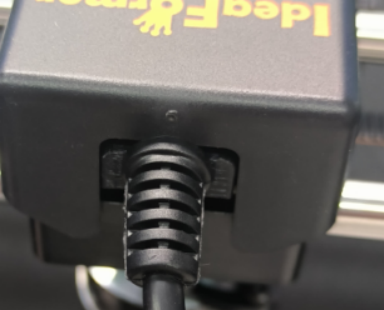
- Insert the toolhead housing into the recess of the mainboard communication line.

- Tighten the flat head screws on the top, reinstall the rear cover plate and tighten the four screws at the bottom. Insert the silicone sleeve (pay attention to the direction of the silicone sleeve; the slanted part at the nozzle end should face downwards).