¶ Replacement of the synchronous belt on the x,y axis
¶ When to Replace
Synchronous belt Fracture
The synchronous belt has aged or worn out and has already affected its functionality
¶ Video Guide
Click to JumpIR3V2 Replacement of the synchronous belt Guide
¶ Replace Guide
Note: The demonstration here shows the replacement of both synchronous belts simultaneously. If only one belt is to be replaced, please after watching the entire guide before deciding which screws to loosen and how to remove the synchronous belt.
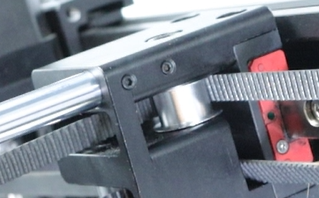
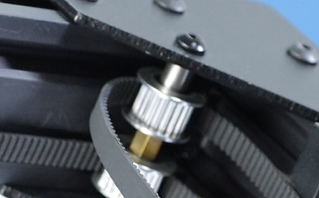
- When passing around the idler wheel and the synchronous wheel, make sure that the synchronous belt is in the middle slot of the synchronous wheel.

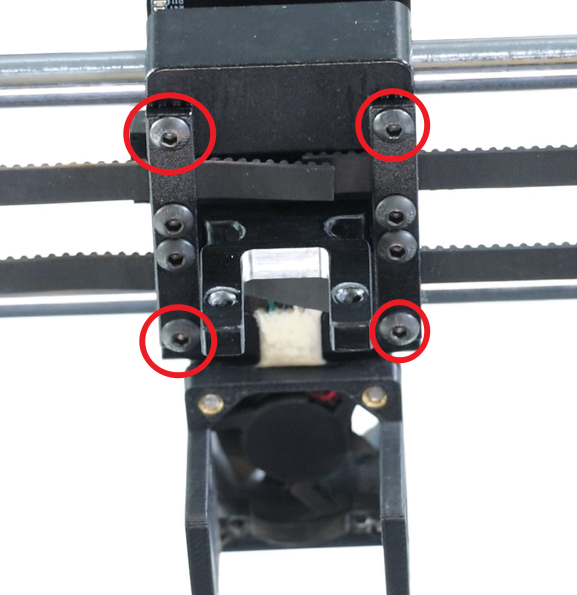
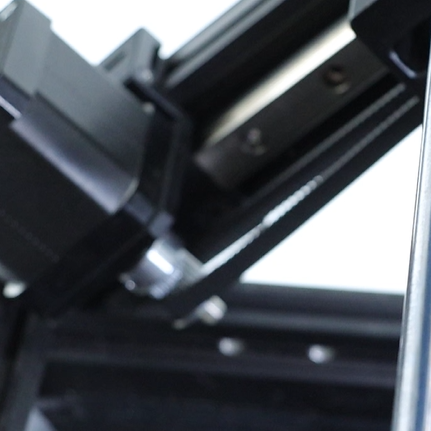
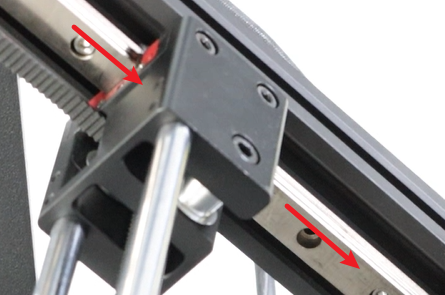
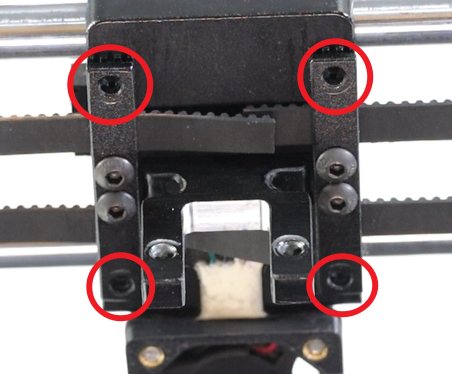
- After disassembly the toolhead, Loosen the four screws at the bottom of the X-axis slider
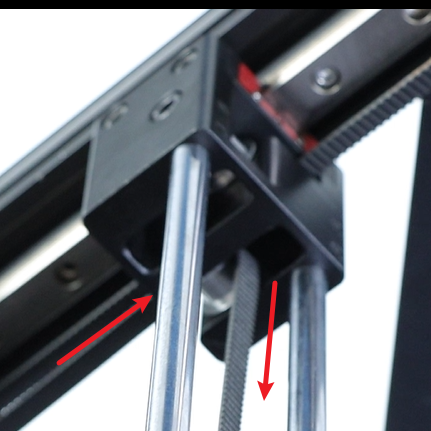
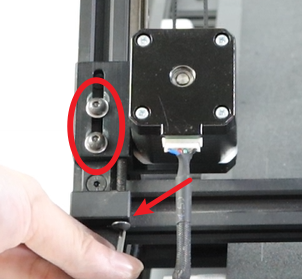
- Loosen Three screws on each of the left and right motors, then move the motors to the topmost position. The picture below shows the left motor.

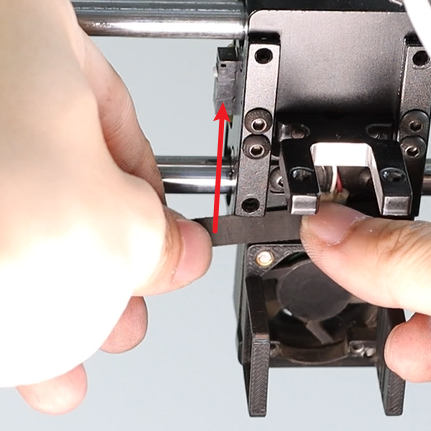
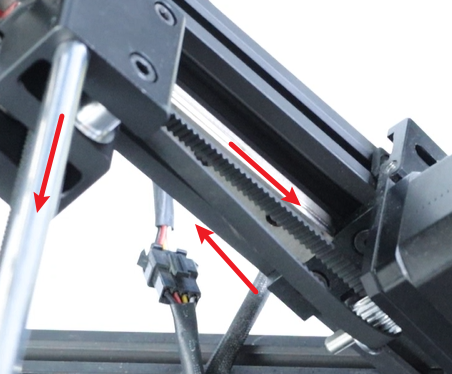
- Remove the synchronous belt from the slot.
- Fold up the two old synchronous belts, take out a new one, approximately 169 cm long and 6 mm wide, and pass it through the left upper idler wheel.
- Pass through the fixed block on the left X-axis
Return to the X-axis fixed block by bypassing the lower left synchronization wheel.
Pass around the idler wheel inside the fixed block on the left X-axis
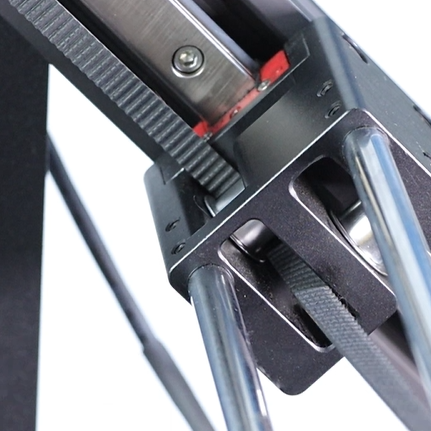
- Insert into the slot of the synchronous belt. When inserting, be careful not to let the end of the synchronous belt exceed too much beyond the slot. It is best to position it in the middle of the two slots. If insertion is difficult, you can use a flat-head screwdriver to slightly pry open the entrance before inserting again.
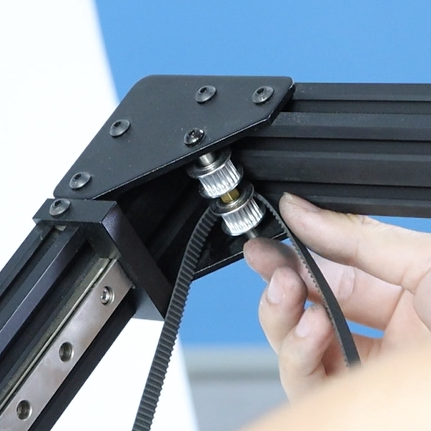
- Return to the other end of the synchronous belt and pass through the idler wheel on the upper right corner.
Insert into the right X-axis slider and pass around the idler wheel
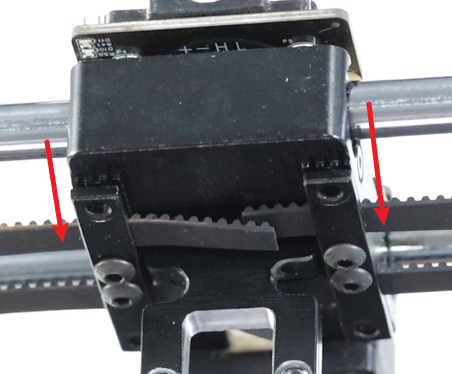
- Lift the left motor up and move it to the top position. Then, when inserting it into the slot of the other side’s synchronous belt, be sure not to push the synchronous belt too far into the slot. It’s best to keep it in the middle of the two slots.
- Now a conveyor belt has been installed. Next, we will install the second one. It’s similar to the first one. We will then take another conveyor belt and pass it around the idler wheel from the upper left corner.
Insert into the left X-axis slider and pass around the idler wheel
The other side of the synchronous belt passes around the idler wheel from the upper right corner.
Pass through the fixed block on the right X-axis
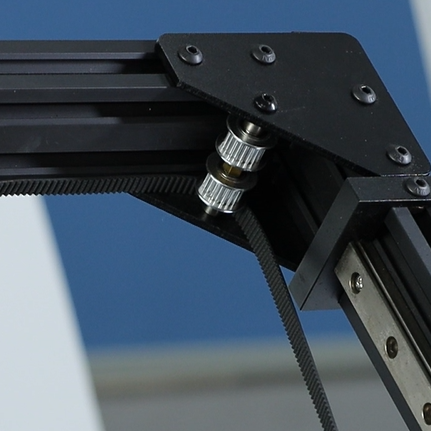
Pass around the lower right synchronization wheel and return to the X-axis fixed block, then pass around the idler wheel.
Lift the right motor and insert the two ends of the synchronous belt into the slots.
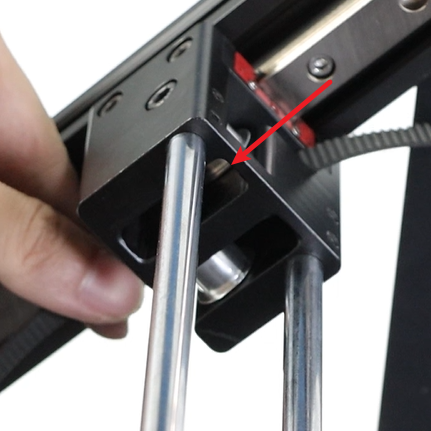
- Tighten the four screws until the card plate deforms under the force.
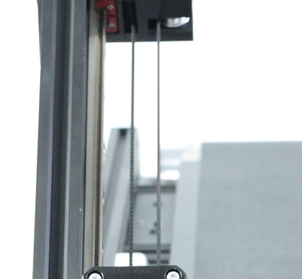
At this point, the synchronous belt should be loosely and loosely attached.

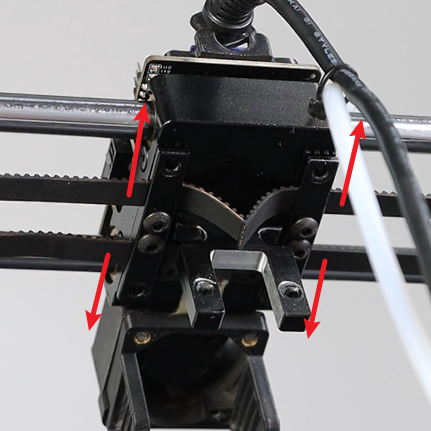
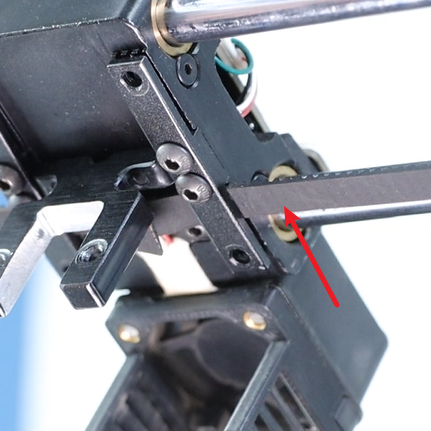
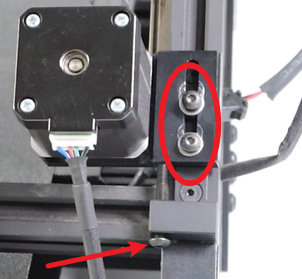
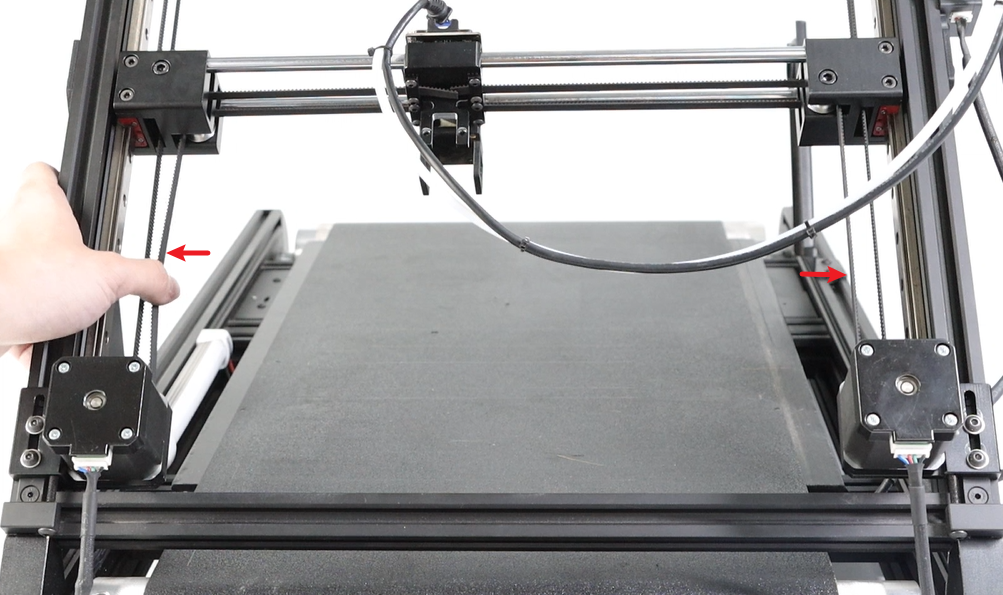
- First, tighten the screws at the arrow position until they are fully tightened, causing the motor to slide a short distance. Then, tighten the two screws in the ring to straighten the synchronous belt.
Similarly, at the right motor, the screws at the arrow position should be tightened first, followed by the two screws in the circle, to straighten the synchronous belt.
- Move the print head to the middle of the Y-axis, press the synchronous belts on both sides, and check if the pressure on both sides of the synchronous belts is similar. If they are not similar, refer to Leveling Guide to correct the synchronous belts.
- Assemble the toolhead back together, After turning on the machine, click the “Auto Leveling” button.